
Story by Nick Ohlrich
Photos by Alaska Drift Away Fishing
This is going to be a big year.
Sure, there is a presidential election in 2016, but more importantly, it’s a pink year on the Kenai.
The return of the humpy opens the floodgates to memory lane and releases waves of anticipation of once again taking part in the photo-release ritual that ends each encounter with one of the river’s donkey-slab trout. It’s one of those feelings that’s hard to describe: You can see the energy in the fish; there are several rounds of high fives, plenty of big smiles and then there’s that sudden calm followed by mind-melt as you gently release a big, fat, oh my God this could potentially be the best day of my life fish back to its home.
Watching that fish of a lifetime disappear into the turquoise water never gets old, but while catch-and-release is a great concept practiced around the world for many species, foremost in our minds must be that the fish survives the encounter. What happens during the photo and measuring process has a strong impact on the fish’s ability to swim off and give someone else near heart failure in the future.
I’ll be the first to admit it—in the years that I’ve been fishing and guiding on the Kenai I’ve made mistakes while handling and photographing fish, learning many lessons in the process. The repetition has helped produce the credos that I observe today. This is definitely not the only way to skin the cat, but I hope it may offer you a few ideas to apply to your ritual.
In the Net
A rubber net is a must for catch-and-release anglers. It doesn’t damage the fish and the rigidity of the basket creates a safe working environment for you and the fish. I even use rubber nets for salmon because I love not having to untangle a fish, line and hook out of a mesh net. It’s a huge timesaver.
Once you have that photo fish in the net it’s time to shift gears from the high adrenaline of the battle to taking care of the fish. More than likely the trout is tired, as big fish do not like making it to the net, so giving the fish a few minutes to relax is needed. While the fish is resting it’s time to make a decision: Measure and photograph the fish from the boat or head to shore.
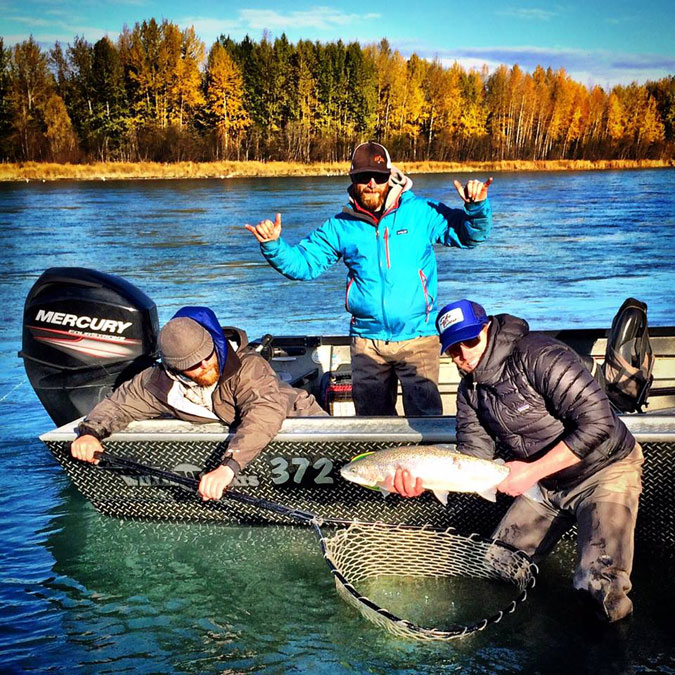
Being that we primarily fish below Skilak Lake in a powerboat, quite a few of our releases happen while floating downriver. There are positive and negative aspects to dealing with fish from the boat as well as from the bank. Let’s examine the pros and cons to both options.
Pros from the Boat
You are floating with the current, allowing the fish to swim freely in the net. It’s hard for fish to recover if they are pinned to the side of the net due to the current.
You have the option to release the fish in slow water. If we are fishing in a fast section of the Kenai, we always slowly drift to a zone where the current is slow to release the fish. Releasing fish into fast water probably isn’t doing it any favors.
Cons from the Boat
It is tough to measure and photograph a fish from the boat while keeping the fish in the best possible condition. We have a policy that a trout can never cross the gunnel of the boat. Bringing a fish in the boat for a photograph keeps it out of the water longer and produces a high risk that the fish will flop onto the bottom of the boat even if you hold the net under the fish.
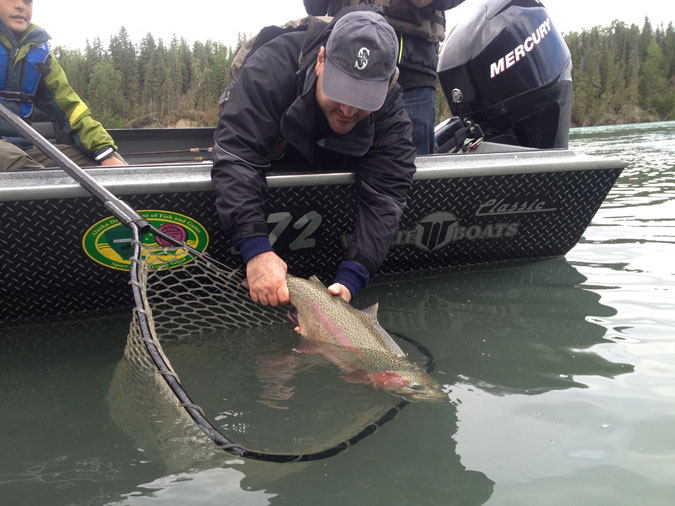 Getting quality fish photos from the boat is tricky, but first and foremost, take care of the fish.
Pulling a big fish from a net and holding it properly to get a good photo while leaning over the gunnel is not easy. This is one of the biggest reasons why you see trout guides holding clients’ fish from the boat.
It’s very easy to get complacent while floating and working on a fish, as everyone is excited and all attention is usually centered on the brute in the net. Make sure to always keep an eye downriver for obstructions and boats.
Pros from the Shore
We love working with fish from the shore and try to go there as much as possible. Typically we net fish from the boat and slowly make our way to a shoreline where the current is slow. It is important to plan ahead, as landing on a bank where the current is swift will pin the trout in the net. This is very tough on an already tired fish and creates an unneeded hassle for unhooking the fish. As you make your way to shore keep the net on the downstream side of the boat; this technique seems to keep the fish swimming freely in the net. As you ferry towards the bank, if you notice that the fish is starting to get pinned in the net, slow down. This is why planning ahead is great—it allows you to have ample time to slowly work to an appropriate bank. Measuring, photographing and holding the fish is easy. This is a great setting to teach folks how to hold fish. If you head to shore before netting the fish, make sure where you land is in slow current, then party on.
Cons from the Shore
It is very easy to damage a fish by dragging it to shore, causing the fish to get pinned in the net.
If the shore location is in fast water the fish may not have enough time to recuperate from the fight and photo/measuring process.
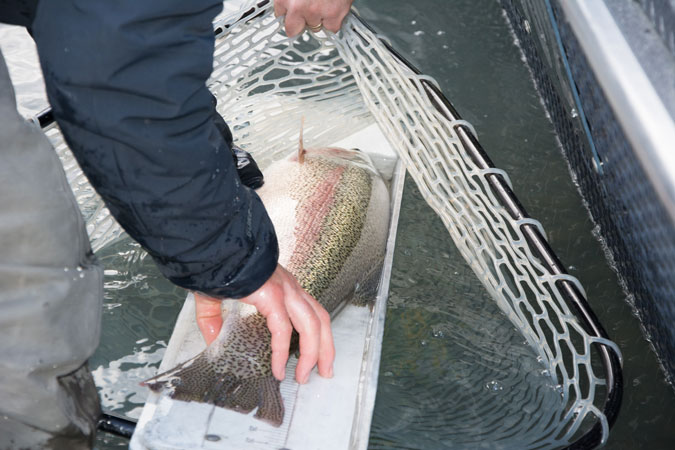 Measuring is part of the process in memorializing your catch,
and it needs to be a part of your overall plan.
Photoshop
Now is the time to solidify the moment where you outwitted Dr. Donkey Trout and you can become the envy of all your friends and even people you don’t know through social media and magazines like Fish Alaska. Getting the proper photo is clutch and there are a few points to consider to ensure a quality photo, as well as the proper treatment of the fish.
In a perfect world you have three people, one to smile with big fat fish, one holding the net and one photographer. Make sure the sun is on the angler and fish; be careful that no shadows are cast on the subject. It is very easy to ruin a shot from the photographer’s shadow.
The digital world makes it is easy to set-up the shot and get your frame before you start holding the fish out of the water. We like to do a three count so the photographer is ready. On the count of three lift the fish, only keeping it out of the water for 3- to 5 seconds maximum and then placing the fish back in the net to let it rest for a minute or so. This is a great time to check photos and decide if you need another shot. If you need another shot repeat the process. Most camera phones have a burst mode in the photo app, which allows many photos to be taken in a short time. When using the burst mode slowly move the fish in different angles. During your 3- to 5-second photo shoot it is not hard to get 20 shots; typically this is all you need to secure the moment.
One very important note, photograph the fish before measuring. We have definitely lost fish during the measuring process. Besides, if there is no proof of length, it’s easy to have that fish’s estimated length magically grow through cocktails around the campfire.
Keep the camera going through the measuring and release process, too, as many awesome shots are captured during these moments.
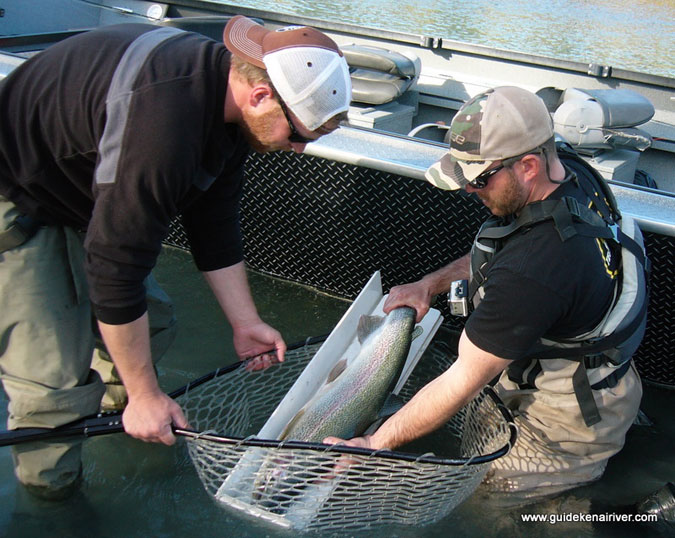
 From start to finish, a fish-photo plan successfully executed.
Measuring
A measuring board such as the Musky Bumper (muskiebumper.com) is a great way to get a quick and accurate length while causing little disturbance to the fish. The Musky Bumper floats and has the ability to measure past 30 inches. For do-it-yourselfers, constructing your own measuring board is not complicated and allows you the ability to customize it to the type of fishing you do.
Soft tapes are a pain, not accurate and require excessive handling of the fish. We only use soft tapes for measuring girth. To acquire the girth simply wrap the tape around the fattest portion of the fish; this is usually done from just in front of the dorsal fin. A great formula to calculate the weight is:
| Length x (Girth Squared) ______________________ 750 |
= Fish Weight |
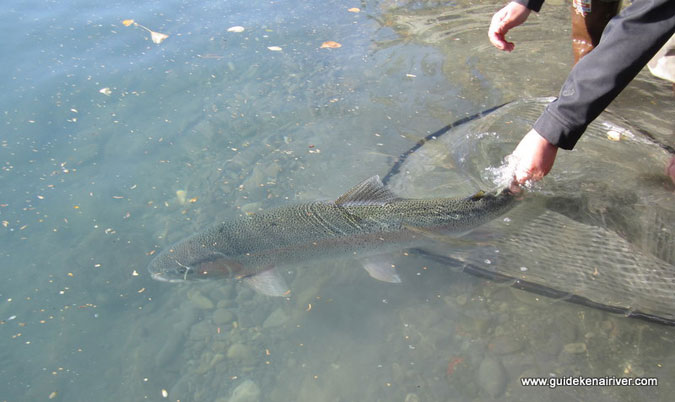
The Release
When it becomes time to bid adieu to your trophy trout, gently place the fish facing upriver, allowing some time for it to orientate itself. Once again being in slow current is best. Do not let go of the fish, but rather gently hold it with one hand just above the tail, placing the other hand on the belly. When the fish is ready it will take off.
If one big fish is biting more than likely other ones are down to party as well. Don’t get caught up in the chomp to hurry through the release process to get back in the drift. Remember to slow down and enjoy the moment. Catching these world-class fish is an amazing experience and should be enjoyed. Slowing down the program will also take stress off the fish, securing a safe release.
Tying it Together
No matter what type of water youare fishing or what species you are targeting, having the right equipment and plan for a photo/release session is essential. Applying these techniques to your next photo fish will enhance your on-water experience and help preserve the resource for future generations.
Nick Ohlrich is co-owner/guide for Alaska Drift Away Fishing. For more info check out their website at www.guidekenairiver.com or email at info@guidekenairiver.com or call 1-877-999-8677.
This article originally appeared in the July 2016 issue of Fish Alaska.